If you have ever thought of writing your own custom Android library for others
to use or extend, and wonder how you could achieve that, then you can join me on
this ride. In this post, I will be showing a step by step guide on how to create
an Android library. I will also be showing you how to distribute your library
through JitPack.
We will be creating a simple statistics library, that can be used to compute basic
Arithmetic Mean, Median and Mode. To achieve this, we follow the steps
below:
- Create a new Android app that showcases the library
- Create a new library module within the Android app
- Write the code for your custom library
- Add the library as a dependency to the project
- Publish your library to Github
- Setup to share your library with any other android project using
Jitpack
Create a new Android project
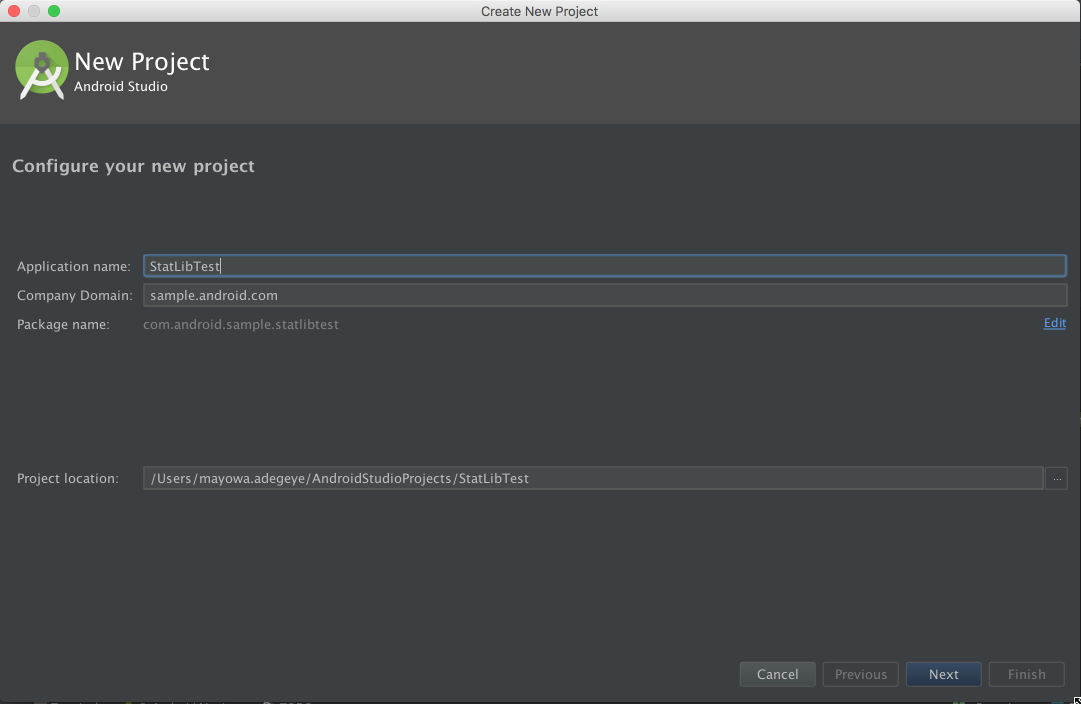
Create a new Android project using the create new project wizard on Android studio. This project will be used to test your library and also for later showcasing it.

Create a new library module
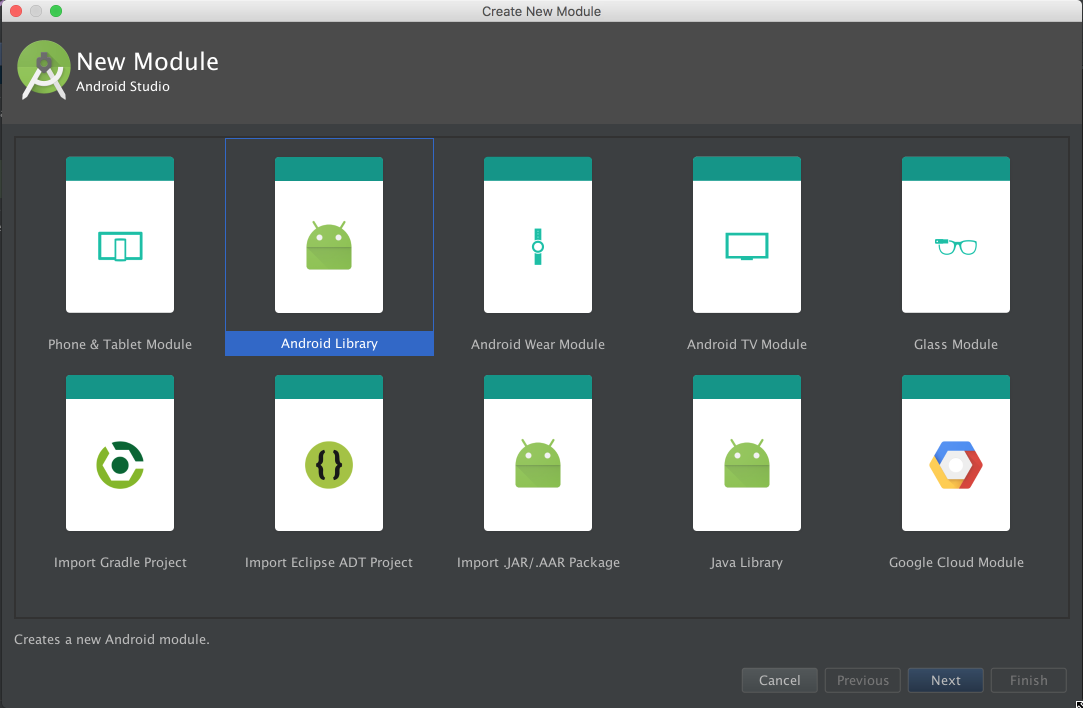
Next is to create a new Android libraray module within the created Android app above.
Right-click the project new -> module then select Android Library.

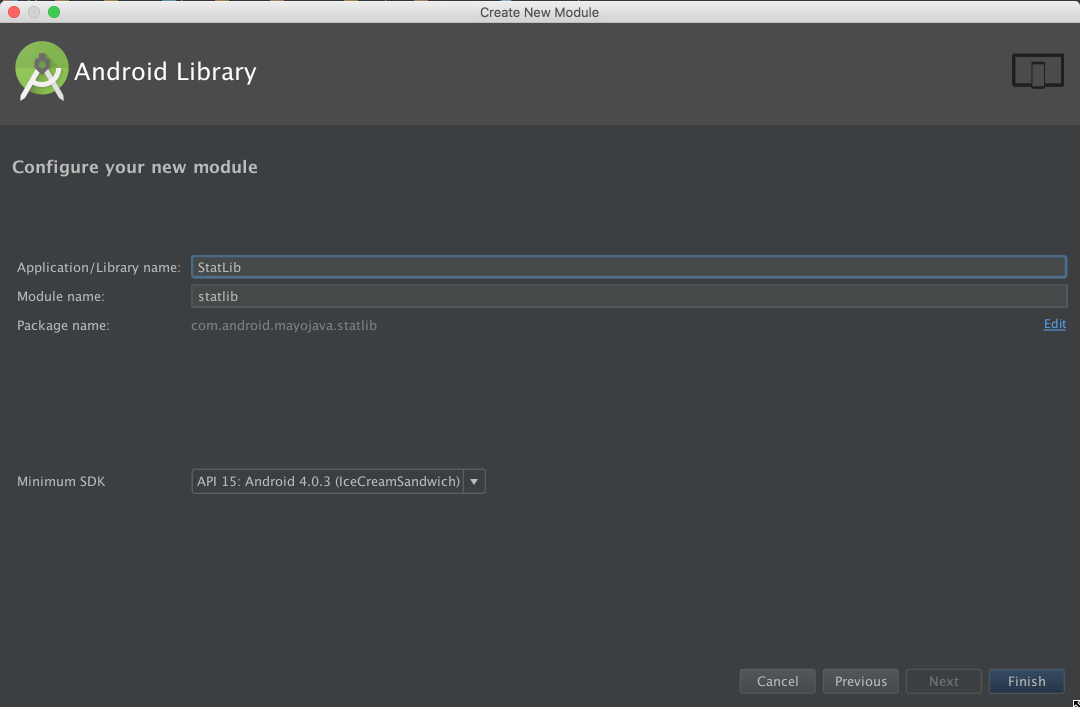
Give your library a name on the next screen and click finish.

Once the project is done building, we should see our newly created module in the project.

Write library code
Our library for now will have just one class. CentralTendency.java. Create this
file in the java folder under the library module.
// contains functions to computer Arithmetic mean, median and mode

public class CentralTendency {
    /**
     * Computes the arithmetic mean of a set of numbers
     * @param numbers
     * @return
     */
    public static Number arithmeticMean(Collection<? extends Number> numbers) {
        //check type of values
        Iterator<? extends Number> iterator = numbers.iterator();
        Number firstNumberInCollection = iterator.next();

        if (firstNumberInCollection instanceof Integer) {
            return computeMeanInt(numbers);
        } else if (firstNumberInCollection instanceof Long) {
            return computeMeanLong(numbers);
        }

        return computeMeanDouble(numbers);
    }

    ...............
    ...............

    /**
     * computes arithmetic mean for a set of Integer values
     *
     * @param numbers
     * @return
     */
    private static Number computeMeanInt(Collection<? extends Number> numbers) {
        double result = 0;
        Iterator<? extends  Number> iterator = numbers.iterator();
        while (iterator.hasNext()) {
            result += iterator.next().intValue();
        }
        return result/numbers.size();
    }
}
Check this github repo for the complete code.
Add the library module as a dependency of the android project
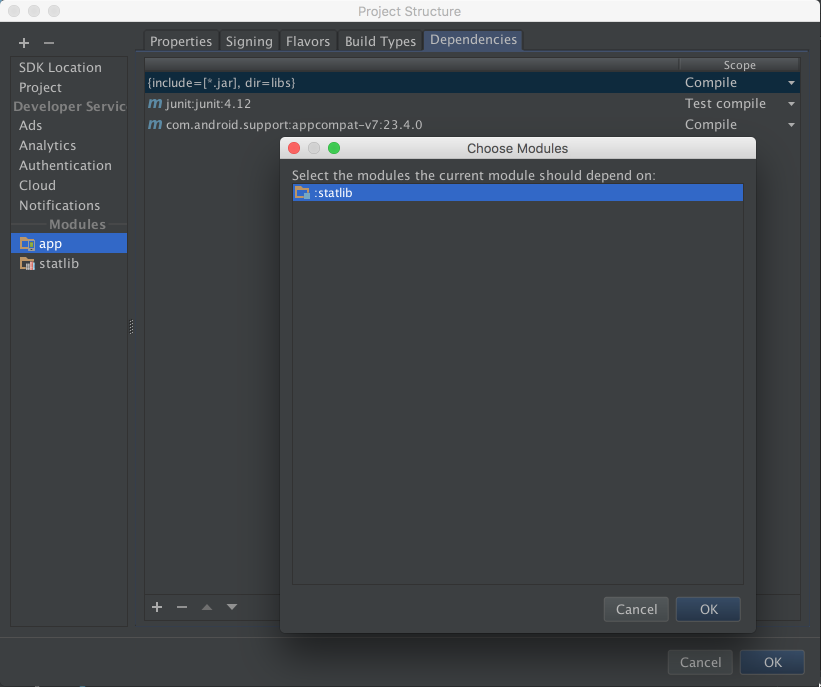
Go to File -> Project Structure, click on the app module and select the Dependencies tab. Use the (+) icon at the bottom of the window to add a new module dependency. Select the newly created library.

Click the ok button when done. The dependency should be automatically added to the app module build.gradle file.
compile project(':statlib')In the onCreate method of our MainActivity, we add the code to showcase this library.
ArrayList<Integer> numbers = new ArrayList<>();
Random r = new Random();

for (int i = 0; i < 15; i++) {
    numbers.add(r.nextInt(7)+1);
}

double mean = CentralTendency.arithmeticMean(numbers).doubleValue();
double median = CentralTendency.median(numbers);
ArrayList<Integer> mode = CentralTendency.mode(numbers);

Collections.sort(numbers);

String res = String.format("Numbers:\n\n%s\nMean: %.1f\nMedian: %.1f\nMode: %s\n",
                numbers, mean, median, mode);


textView.setText(res);
Publish your library to Github
Now that our app is ready, we need to upload to Github. Init a git repository in the project root, create a new remote git repository on Github and push all committed codes to the remote repo. If you are not familiar with git, you can learn about git here.
Setup and share your library through Jitpack
Jitpack is an easy to use package repository for Git. It allows you share your library with anyone by just adding the dependency of your library to their projects. We need to setup our library for Jitpack by adding some few lines to our gradle files.
- Add the android-maven plugin. In the root
build.gradefile, add:
buildscript {
 dependencies {
classpath 'com.github.dcendents:android-maven-gradle-plugin:1.3'- In the library module
build.gradlefile, add the following below the first apply plugin line:
apply plugin: 'com.github.dcendents.android-maven'

group='com.github.YourUsername'- Create a Github release or add a TAG In the project root, run the command below to create v1.0 tag for newly created library:
git tag -a v1.0 -m “statlib version 1.0”
git push origin v1.0- Ensure that you have
Gradle Wrapperin your repository. If you don’t then create it using the commandgradle wrapperand commit it. When this is done, run this command in the project root:
./gradlew installThis will install this library in the local maven repository ($HOME/.m2/repository).
- If the build is successful and the project has also been uploded to Github, go to this
jitpackurl:
//Replace User with your Github username, and Repo with your library repo name

https://jitpack.io/#User/Repo
On the website, select the release you would like to share by clicking the Get It button next to the list of releases of your repository.
Add a README file
Automatically, Github looks for a file names README.md in the root of your project and displays it below. At minimum, the README file should contain the following:
- A badge with the status of your library repository.
- A line describing how your library can be added to an android project.
- Sample code showing how to use the library.
- Finally, the library license usage. Check out this link for sample open source licensing.